

We create high converting websites tailored for your brand success

Search Now!
Contact Info
Location 1403/1404 Gold Crest Business Centre, opposite Manubhai Jewelers, Lokmanya Tilak Rd, Borivali West, Mumbai, Maharashtra
Contact Info
Location 1403/1404 Gold Crest Business Centre, opposite Manubhai Jewelers, Lokmanya Tilak Rd, Borivali West, Mumbai, Maharashtra

How to Improve Google PageSpeed Insights Score for Your WordPress Website

Home > Blog > Website Development > How to Improve Google...

How to Improve Google PageSpeed Insights Score for Your WordPress Website

Images
Authored by
tpnomix.com
Date Released
3 November, 2026
Comments
No Comments

A slow website can frustrate visitors, reduce engagement, and make it harder for potential customers to explore your services. For businesses using WordPress, website speed is especially important because themes, plugins, images, page builders, and third-party scripts can all affect performance.

Google PageSpeed Insights (PSI) helps website owners understand how a page performs on mobile and desktop devices. It also provides recommendations to address performance issues. However, improving your score is not simply about installing a speed plugin or trying to reach 100. The real goal is to create a website that loads quickly, responds smoothly, and remains visually stable for visitors.

If you want to improve your Google PageSpeed Insights score for a WordPress website, you need a structured approach. Start by measuring performance, identify the biggest bottlenecks, and apply improvements one at a time.

1. Understand What Google PageSpeed Insights Measures

Google PageSpeed Insights evaluates a webpage’s performance and provides suggestions to improve the user experience. It includes laboratory data collected through a controlled test and, when sufficient real-world data is available, field data from actual Chrome users.

The Performance score is based on several metrics, but the score alone does not tell the complete story. A page may achieve a high laboratory score while still experiencing issues for some visitors because of network conditions, devices, or real-world interactions.

Before making changes, understand the difference between the main performance indicators:

  • Performance score: A Lighthouse score from 0 to 100 that summarizes laboratory performance.
  • Field data: Real-user performance information collected over time, when available.
  • Lab data: A controlled test that helps identify specific technical problems.
  • Opportunities: Recommendations that may help improve loading performance.
  • Diagnostics: Additional technical information about how the page behaves.

Google’s PageSpeed Insights report can help you prioritize improvements instead of making random changes to your website. https://pagespeed.web.dev/

2. Check Your Website Before Making Changes

The first step in WordPress speed optimization is to establish a baseline. Without an initial test, it is difficult to determine whether a change has improved or damaged your website’s performance.

Open Google PageSpeed Insights and enter the URL of the page you want to test. Start with your homepage, but do not stop there. Important service pages, blog posts, product pages, and landing pages may have different performance issues.

Test both mobile and desktop versions. Mobile performance deserves particular attention because visitors may use slower connections and less powerful devices.

For a useful baseline, record:

  • Mobile Performance score.
  • Desktop Performance score.
  • Largest Contentful Paint (LCP).
  • Interaction to Next Paint (INP), when field data is available.
  • Cumulative Layout Shift (CLS).
  • Largest image or element loading issues.
  • Render-blocking CSS and JavaScript warnings.
  • Server response and caching-related recommendations.

Run the test more than once. A single test can be affected by temporary network or server conditions. Compare the results and focus on consistent problems.

3. Improve Core Web Vitals for Better User Experience

Core Web Vitals are Google’s key metrics for evaluating loading performance, responsiveness, and visual stability. They are important because they measure aspects of how people experience a website rather than simply counting files or measuring page size.

The three main Core Web Vitals are:

Metric What it measures Good target
Largest Contentful Paint (LCP) How quickly the main content appears 2.5 seconds or less
Interaction to Next Paint (INP) How quickly the page responds to user interactions 200 milliseconds or less
Cumulative Layout Shift (CLS) How stable the page layout remains 0.1 or less

These targets are evaluated at the 75th percentile of page visits, with mobile and desktop data considered separately. A good result means that most visitors experience a fast and stable page.

Improving Core Web Vitals often requires addressing multiple areas. A large hero image can affect LCP, excessive JavaScript can affect responsiveness, and images or banners without reserved space can contribute to layout shifts.

Learn more from Google’s official documentation: https://developers.google.com/search/docs/appearance/core-web-vitals

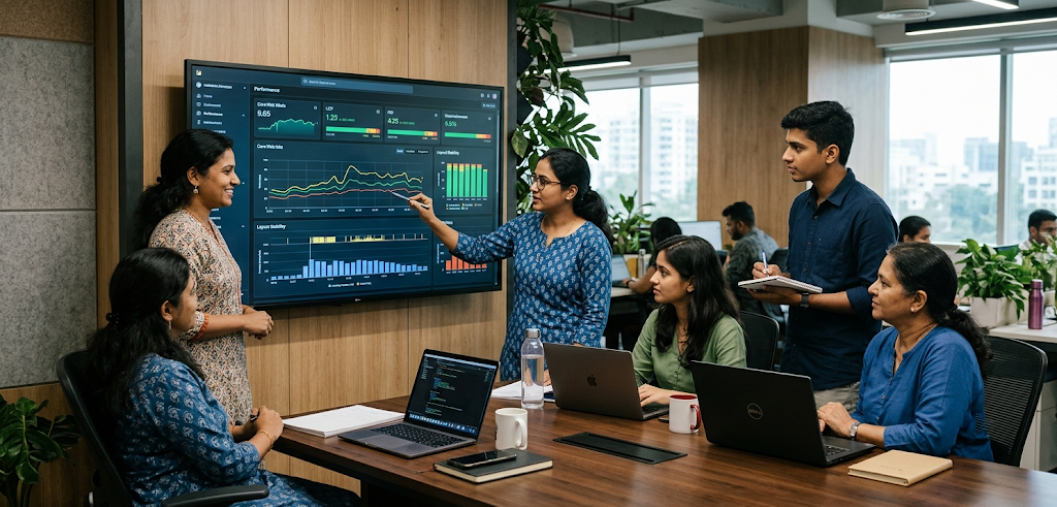
Google PageSpeed Insights Score

4. Optimize Images Without Losing Visual Quality

Images are often among the largest files on a WordPress website. Large banners, product photographs, portfolio images, and background graphics can increase loading time significantly.

Image optimization helps reduce file size while preserving the visual quality needed for a professional website.

Follow these image optimization practices:

  • Resize images to match the dimensions at which they are displayed.
  • Use WebP or AVIF when supported by your workflow and website setup.
  • Compress JPEG and PNG images where appropriate.
  • Avoid uploading unnecessarily large images directly from cameras.
  • Use descriptive file names and suitable alt text.
  • Enable lazy loading for images below the initial viewport.
  • Avoid lazy loading the main above-the-fold image when it is the LCP element.
  • Specify image width and height to reduce layout shifts.

For example, if a website displays a portfolio image at 800 pixels wide, uploading a 4000-pixel image may be unnecessary. A properly sized, compressed image can reduce the amount of data visitors need to download.

WordPress includes image handling features, but you may still need a dedicated optimization workflow for large websites or image-heavy pages.

5. Use a Reliable WordPress Caching Solution

Caching is one of the most effective ways to improve WordPress performance. Without page caching, WordPress may need to process PHP, query the database, and generate the page for many visits. A cache can store a ready-to-serve version of the page and reduce repeated processing.

A properly configured caching solution can help reduce server workload and improve response times.

Depending on your hosting environment, you may use:

  • A hosting provider’s built-in page cache.
  • A WordPress caching plugin.
  • Server-level caching such as Varnish.
  • A CDN or edge caching service.
  • Browser caching for static files.

Do not install multiple caching plugins without understanding how they interact. Overlapping caching systems can create conflicts, display outdated content, or make troubleshooting difficult.

After enabling caching, test important pages and forms. Make sure logged-in users, shopping carts, checkout pages, and other dynamic sections are handled correctly.

WordPress documentation explains how caching can serve static versions of pages and reduce server processing: https://developer.wordpress.org/advanced-administration/performance/cache/

6. Choose Fast and Reliable WordPress Hosting

Your hosting environment plays a major role in website speed. Even a well-optimized WordPress website can perform poorly if the server is slow, overloaded, or incorrectly configured.

A good hosting provider should offer sufficient resources, modern software, reliable uptime, and performance features suited to your website’s needs.

When evaluating hosting, consider:

  • Server response time and consistency.
  • Available CPU and memory resources.
  • PHP version and configuration.
  • Database performance.
  • Built-in caching options.
  • Data center location in relation to your audience.
  • CDN integration.
  • Support quality and scalability.

For a business website targeting customers in India, a server location close to the majority of your visitors may help reduce network latency. A CDN can also distribute static assets across multiple locations.

If your site regularly experiences slow response times during traffic spikes, upgrading hosting or reviewing resource usage may be more effective than adding more optimization plugins.

7. Reduce Unnecessary Plugins and Use a Lightweight Theme

WordPress plugins add features, but they can also introduce extra CSS, JavaScript, database queries, and server processing. The number of plugins alone does not determine performance; their quality and behavior matter more.

A website with many lightweight, well-coded plugins may perform better than one with only a few resource-heavy plugins.

Review your active plugins and remove tools that are no longer required. Look for duplicate functionality, unused page builder extensions, unnecessary sliders, and plugins that load assets across every page even when their features are not needed.

A practical plugin review includes:

  • Identify plugins that are inactive or no longer used.
  • Remove duplicate features where possible.
  • Check whether plugins load scripts site-wide.
  • Review plugin performance after updates.
  • Replace poorly maintained tools with reliable alternatives.
  • Test changes on a staging site before applying them live.

Your theme also matters. A lightweight theme with clean code can reduce unnecessary assets. If you use a page builder such as Elementor, review the widgets, animations, templates, and extensions that contribute to the final page.

Google PageSpeed Insights Score

8. Minify and Optimize CSS and JavaScript

CSS controls the visual presentation of your website, while JavaScript adds interactive features. Both are essential, but large or poorly loaded files can delay the display and interaction of a webpage.

Minification removes unnecessary characters such as whitespace and comments from code files. It can reduce file size, although the impact depends on the size and structure of your website.

Other useful techniques include:

  • Remove unused CSS where it is safe to do so.
  • Defer non-critical JavaScript.
  • Delay scripts that are not needed immediately.
  • Reduce unnecessary third-party scripts.
  • Avoid loading the same library multiple times.
  • Use critical CSS carefully to display above-the-fold content sooner.

Be cautious with aggressive optimization settings. Combining, delaying, or removing CSS and JavaScript can break navigation menus, forms, sliders, popups, and page builder layouts.

After making changes, test the website on desktop and mobile. Check important interactions rather than relying only on the PageSpeed score.

9. Improve the Largest Contentful Paint Element

Largest Contentful Paint measures how quickly the largest visible content element appears in the viewport. On many business websites, this is the hero image, a large heading, or a prominent banner.

If LCP is slow, visitors may feel that the website has not loaded even when smaller elements are already visible.

To improve LCP:

  • Identify the LCP element in PageSpeed Insights or browser developer tools.
  • Compress and resize the main hero image.
  • Avoid lazy loading the LCP image.
  • Consider prioritizing the image when appropriate.
  • Reduce server response time.
  • Avoid unnecessary render-blocking CSS.
  • Ensure the main content is not hidden behind delayed scripts.

If the hero section uses a background image in Elementor, review how that image is delivered and whether the page loads additional background assets unnecessarily.

Do not automatically preload every image. Preloading too many resources can compete with other important files and may make performance worse.

10. Reduce Third-Party Scripts and External Requests

Third-party scripts can add useful functionality, including analytics, chat support, advertising, maps, social media embeds, and marketing tools. However, each external service may require additional network requests and JavaScript processing.

Too many third-party resources can slow down loading and make a website less responsive.

Review the external services used on your WordPress website:

  • Analytics and tracking scripts.
  • Live chat and chatbot tools.
  • Social media widgets.
  • Video embeds.
  • Advertising scripts.
  • External fonts.
  • Maps and review widgets.

Keep the tools that provide clear value to your business. Remove unused scripts and consider loading non-essential features only when visitors need them.

For example, a map embedded near the bottom of a contact page may not need to load immediately when the page opens. A click-to-load approach can reduce initial work while still allowing visitors to access the map.

Conclusion: Build a Faster WordPress Website for Better User Experience

Improving your Google PageSpeed Insights score requires more than installing a caching plugin. It involves understanding your website’s performance, identifying the most important bottlenecks, and applying the right technical improvements.

Start with image optimization, caching, reliable hosting, and a review of unnecessary plugins. Then address CSS and JavaScript loading, LCP, third-party scripts, and layout stability. Test each change carefully to ensure your website continues to work as expected.

A fast WordPress website helps visitors access information more comfortably, supports a better user experience, and can contribute to stronger overall search performance. Instead of chasing a perfect score, focus on making your website consistently fast, responsive, and reliable for real users.

Leave a Comment

Your email address will not be published. Required fields are marked *

Areas We Serve in India.